Hexo博客配置之路
仅以此篇文章记录笔者的博客配置过程,希望对各位爱折腾博客小伙伴也能有所帮助
1. Nodejs安装
官网:https://nodejs.org/zh-cn ,推荐下载安装官网长期维护版本
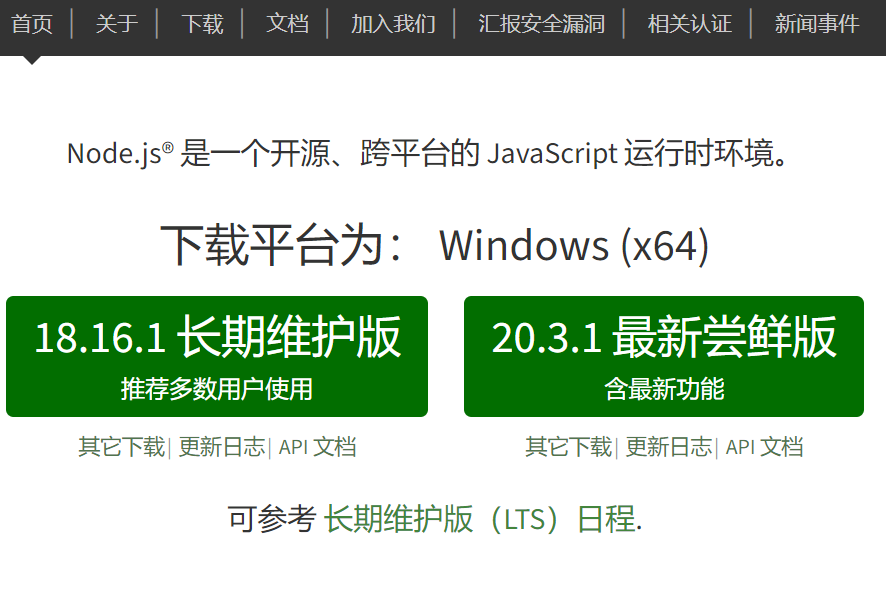
如官网所说,Nodejs是一个开源,跨平台的JavaScript运行时环境,我们使用的Hexo就是要依赖它去运行的,下载完直接安装就行
记得更新下npm源,由于国内网络原因,默认源下载时可能会卡住
1 | npm config set registry https://registry.npm.taobao.org |
2. Hexo安装
直接使用npm安装命令安装即可
1 | npm install hexo-cli -g |
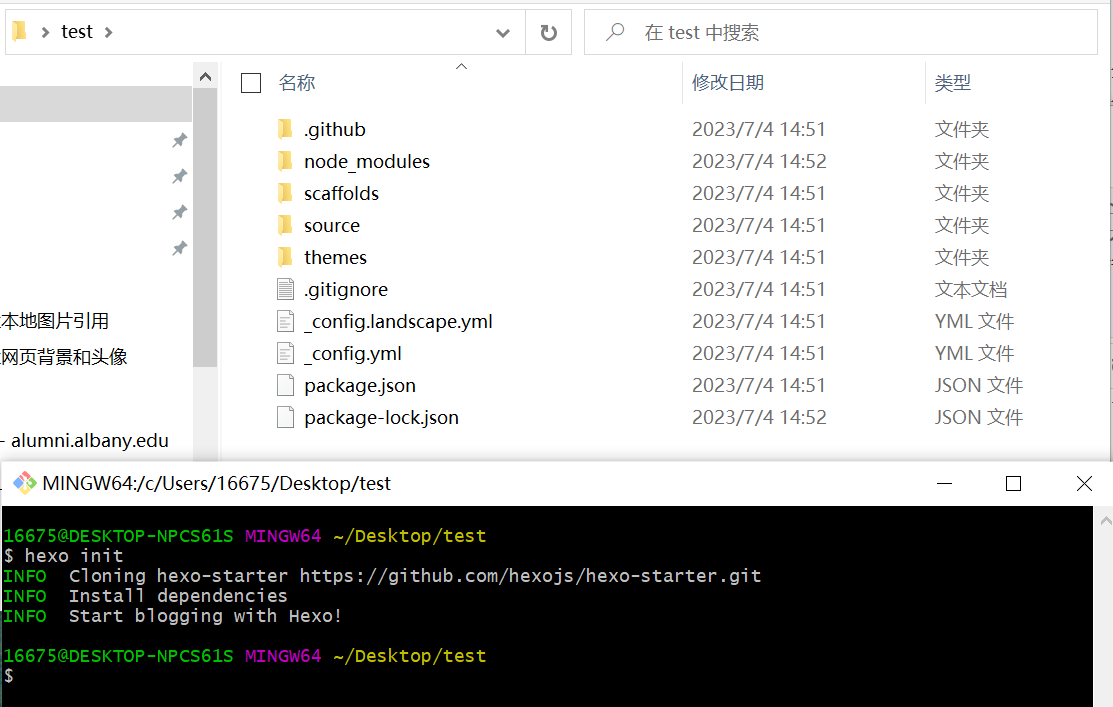
安装完成后在博客目录执行 hexo init 命令,即可初始化博客基本框架,如下图
3. 添加Next主题
博客初始化后,默认主题为landscape主题,笔者一直使用的是Next主题,因此需要下载Next主题的代码
1 | 在博客目录cd到themes文件夹 |
结果如下:
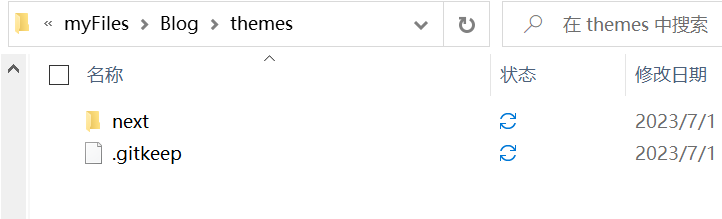
如果不修改主题文件夹的名字为next, 那在修改站点配置文件的主题处时,启用主题应填写hexo-theme-next,即和主题文件夹名保持一致
接下来,复制主题配置文件博客目录/themes/next/_config.yml,移动到博客目录下,即和themes/目录同级,并改名为_config.next.yml,以后Next主题的所有配置将全部在这个文件里做更改,这样可以实现主题代码和配置相互分离,做到主题平滑更新
就此,博客的基本框架建立,至于如何写文章大家可以自行查询,基本流程为:
hexo new post "文章名"hexo将在
博客目录/source/_posts/下新建一个文章.md文件,这也是我们博客文章源文件的存放之处,注意文章名中不要有空格,可能会导致后续个性化配置时,某些插件的功能不正常hexo g文章完成以后,运行
hexo g生成一把,会发现博客目录下多了一个博客目录/public/目录,这里是hexo g之后的产物hexo shexo s之后就可以在本地查看博客效果,浏览器其进入网址127.0.0.1:4000查看即可
接下来就是个性化之旅,我们往往会希望自己的博客可以支持各种各样的能力,比如检索功能,看板娘展示功能,背景音乐播放功能,粒子时钟功能等等等等,可以根据自己自己所需进行配置
4. hexo 支持本地图片引用功能
配置方法已有文章解释,这里只做简单介绍
修改站点配置文件
_config.yml中的post_asset_folder选项为true修改完成后,每次
hexo new post "文章名"的同时,hexo会在同级目录下创建一个同名的文件夹,用以存放这篇文章所需要的所有资源,包括图片,音频,视频等等,文章中使用相对路径引用即可安装
hexo-asset-img插件npm install https://github.com/xcodebuild/hexo-asset-image.git
这样就实现了引用本地图片功能,写文章时图片可以正常预览,生成博客时图片依旧可以正常预览
5. Next主题配置网页背景与博主头像
配置方法已有文章解释,这里只做简单介绍
修改
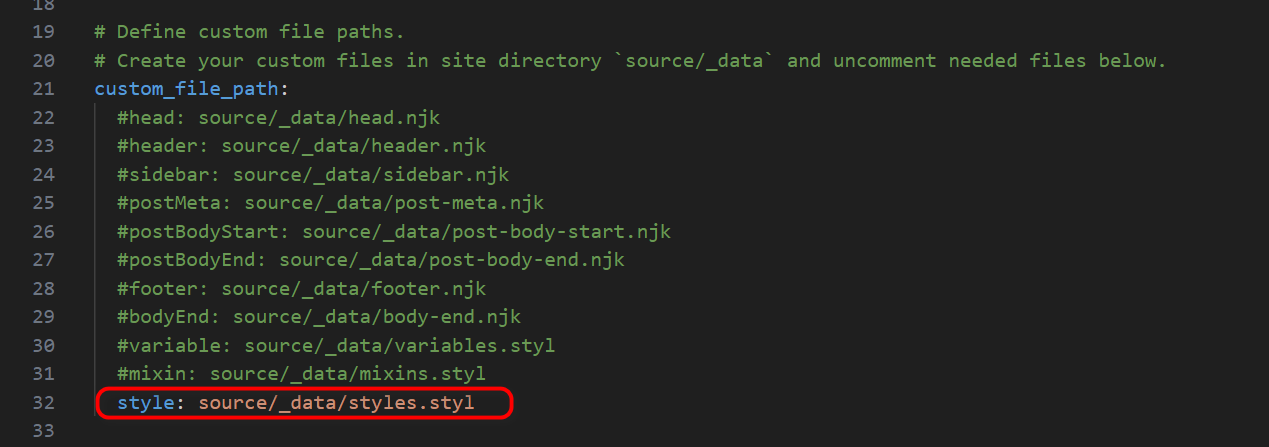
_config.next.yml文件中custom_file_path选项,取消style: source/_data/styles.styl的注释相当于启用了用户自定义的css样式,网页背景图片的设置就在styles.styl文件中
添加
source/_data/styles.styl文件,styles.styl文件中设置网页背景图像的路径在主题资源文件夹中
next/sources/images/添加所需网页背景图片修改
_config.next.yml文件中avatar选项,修改头像图片的路径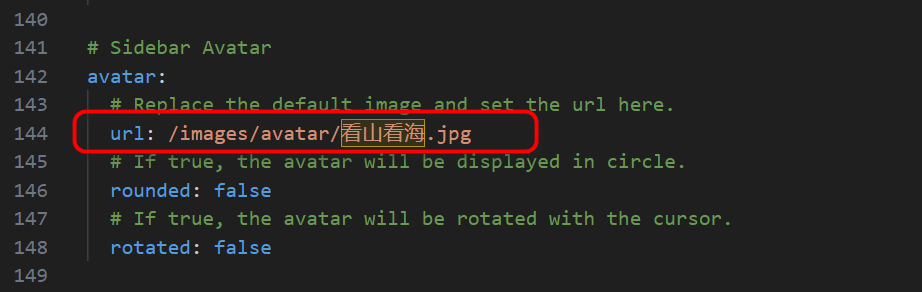
在主题资源文件夹中
next/sources/images/添加所需头像图片
6. Next主题配置自定义菜单,404页面
修改
_config.next.yml中的menu菜单项,开启主页、关于、标签、分类、归档、游戏、404菜单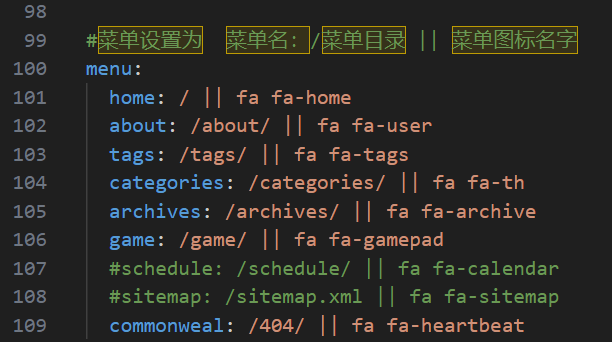
执行
hexo new page 菜单名命令,可在博客目录/source/目录下创建相应的菜单子目录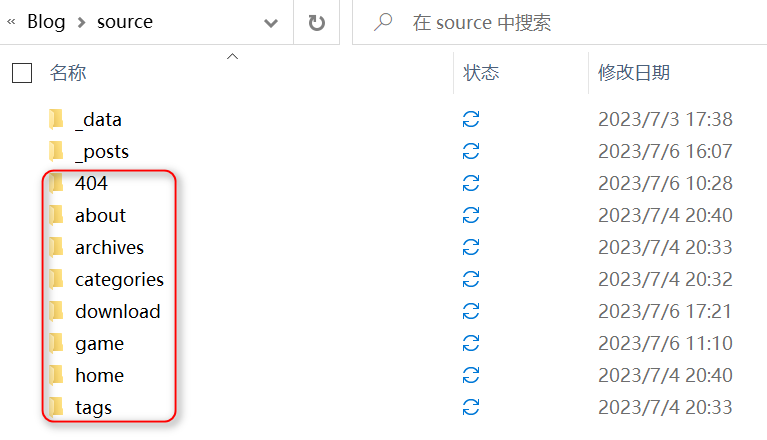
子目录中的
index.md文件修改主要是
tags/index.md和categories/index.md需要做修改tags/index.md文件的front-matter中添加type: tags项categories/index.md文件中的front-matter中添加type: categories项404/index.md文件中的front-matter中添加permalink: /404项像
game菜单项这种自定义的菜单,需要在主题语言文件中添加相应译文next/languages/zh-CN中添加game: 游戏的译文
7. Next主题增加 ”圈小猫“ 游戏
”圈小猫“游戏主要依赖于phaser游戏框架,主要有phaser.min.js框架js 和 catch-the-cat.js游戏代码js两个部分组成
要引用这两个js文件,一种是采用cdn链接远程引用,一种是本地引用,笔者钟情于本地引用
将
phaser.min.js和catch-the-cat.js放置在next/source/js/game/路径下在
博客目录/source/game/index.md中引用这两个文件即可1
2
3
4
5
6
7
8
9
10
11
12
13
14<script src="/js/game/phaser.min.js"></script>
<script src="/js/game/catch-the-cat.js"></script>
<div id="catch-the-cat" style="width:100%;margin-top:32px;text-align:center"></div>
<script>
window.game = new CatchTheCatGame({
w: 11,
h: 11,
r: 20,
backgroundColor: 0xffffff,
parent: 'catch-the-cat',
statusBarAlign: 'center',
credit: 'github.com/ganlvtech'
});
</script>
附件: phaser.min.js , catch-the-cat.js
8. Hexo添加附件下载功能
将文件放置在
博客目录/source/download/目录下文件中提供下载时,使用如下语法即可
<a href="/download/待下载文件" download>文件名</a>
9. Next主题新增打赏功能
修改
_config.next.yml文件中reward_setting和reward选项内容reward_setting: truereward:添加收款码图片路径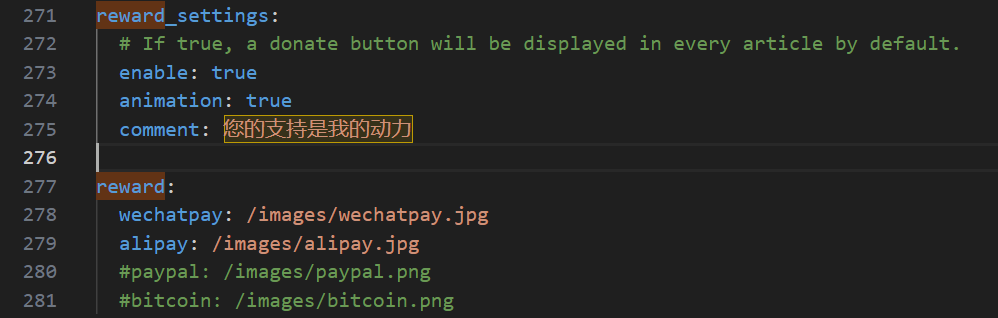
放置收款码图片至路径
next/source/images/
10. Next主题新增文末版权声明
将主题配置文件_config.next.yml中creative_commons下的post: false内容修改为post: true
1 | # Creative Commons 4.0 International License. |
11. Next主题新增搜索功能
安装搜索插件
1
npm install hexo-generator-search
修改主题配置文件
_config.next.yml文件中local_search选项,开启enable: true在站点配置文件
_config.yml文件最后添加内容1
2
3
4search:
path: search.xml
field: post
content: true
12. Next主题配置不蒜子访问计数
在_config.next.yml文件中找到下面的配置选项,将enable的值从false改为true即可
1 | # Show Views / Visitors of the website / page with busuanzi. |
13. Next主题配置文章字数统计和阅读时长
安装插件
hexo-word-counter1
npm install hexo-word-counter
修改主题配置文件
_config.next.yml,item_text_total属性改为true,添加wpm属性与合适值1
2
3
4
5
6# Post wordcount display settings
# Dependencies: https://github.com/next-theme/hexo-word-counter
symbols_count_time:
separated_meta: true
item_text_total: true
wpm: 275 # 一分钟阅读的字数wpm是每分钟阅读字数,一般博文大多数是纯中文,设成300,中英文混合的情况较多时,设成275,其他的详细属性介绍请看官网说明
14. Next主题新增评论系统
详细教程,见官网指导文档
LeanCloud国际版网页创建应用,获取AppId,AppKey,MasterKeyVercel部署评论区服务端,获取服务端地址,待使用安装
Waline插件 (插件网址)1
npm install @waline/hexo-next
修改站点配置文件
_config.next.yml,在最后添加以下内容1
2
3
4
5
6
7
8
9
10
11
12
13
14
15
16
17
18
19
20
21
22
23
24
25
26
27
28
29
30
31
32
33
34
35
36
37
38
39
40
41
42
43
44
45
46
47
48
49
50
51
52
53
54
55
56
57
# Waline Config File
# For more information:
# - https://waline.js.org
# - https://waline.js.org/reference/component.html
waline:
  # New! Whether enable this plugin
  enable: true

  # Waline server address url, you should set this to your own link
  serverURL: your server link(刚刚vercel获取的地址)
  # Waline library CDN url, you can set this to your preferred CDN
  # libUrl: https://unpkg.com/@waline/client@v2/dist/waline.js

  # Waline CSS styles CDN url, you can set this to your preferred CDN
  cssUrl: https://unpkg.com/@waline/client@v2/dist/waline.css

  # Custom locales
  locale:
  placeholder: Welcome to comment # Comment box placeholder

  # If false, comment count will only be displayed in post page, not in home page
  commentCount: true

  # Pageviews count, Note: You should not enable both `waline.pageview` and `leancloud_visitors`.
  pageview: false

  # Custom emoji
  emoji:
  - https://unpkg.com/@waline/emojis@1.0.1/weibo
  #   - https://unpkg.com/@waline/emojis@1.0.1/alus
  #   - https://unpkg.com/@waline/emojis@1.0.1/bilibili
  #   - https://unpkg.com/@waline/emojis@1.0.1/qq
  #   - https://unpkg.com/@waline/emojis@1.0.1/tieba
  #   - https://unpkg.com/@waline/emojis@1.0.1/tw-emoji

  # Comment infomation, valid meta are nick, mail and link
  meta: [nick, mail, link]
  #   - nick
  #   - mail
  #   - link

  # Set required meta field, e.g.: [nick] | [nick, mail]
  # requiredMeta:
  #   - nick

  # Language, available values: en-US, zh-CN, zh-TW, pt-BR, ru-RU, jp-JP
  lang: zh-CN

  # Word limit, no limit when setting to 0
  # wordLimit: 0

  # Whether enable login, can choose from 'enable', 'disable' and 'force'
  login: enable

  # comment per page
  pageSize: 10
15. Next主题去除目录自动标号
修改主题配置文件 _config.next.yml文件的toc 项,将number改为false即可
1 | # Table of Contents in the Sidebar |
16. Hexo 博客部署
博客距今为止已经两年没有动过,其实之前已经进行过部署操作,在github和gitee的平台都部署过,再部署的过程就变得非常简单了,下面以部署在github为例子进行简单说明
在
github创建用户名.github.io的仓库安装部署插件
1
npm insatll hexo-deployer-git
修改站点配置文件
_config.yml1
2
3
4
5deploy:
- type: git
repo:
gitee: git@gitee.com:lasonneil/lasonneil.git,master
github: git@github.com:Lasonneil/Lasonneil.github.io.git,main
我这边部署到了两个页面中,这是两个页面的写法,也可以参考下